


Hello,
This is Jackeline, for this month Elizabeth Craft Design Challenge I designed a gift box using Els Van Burgt Studio Collection dies.
Let’s get Started:
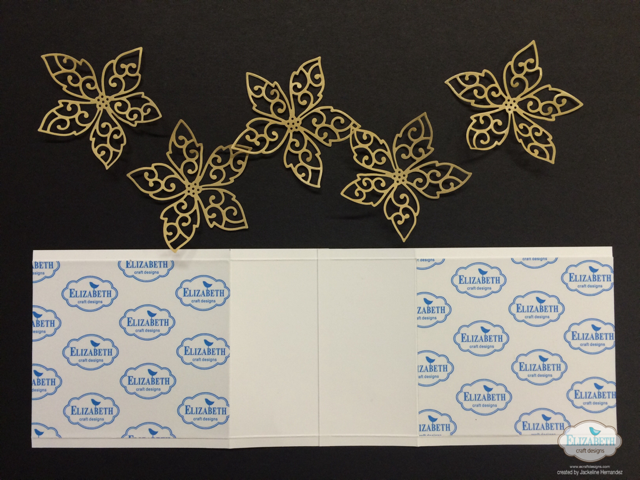
- Cut a rectangle piece of 14 1/4 x 4 3/4. Make 2 vertical score lines dividing the rectangle in 3 pieces.
- Make 2 horizontal score lines leaving 1/4 of inch in each end on the rectangle. (See picture below)
- Cut 2 rectangle pieces of 7 x 41/4, and using Tag & More 9-Sparkle die cut the top parts of the rectangle pieces
- Cut 2 pieces double side adhesive tape of 5 x 41/4.
- Cut some Poinsettia flowers with the protector paper of the tape (backing)
 Place the double side adhesive on the ends of the rectangle (see picture).
- Remove the backing paper and place the poinsettias on top of the sticky part. Cover with the backing paper previously remove and rub to make sure the poinsettias are in place.
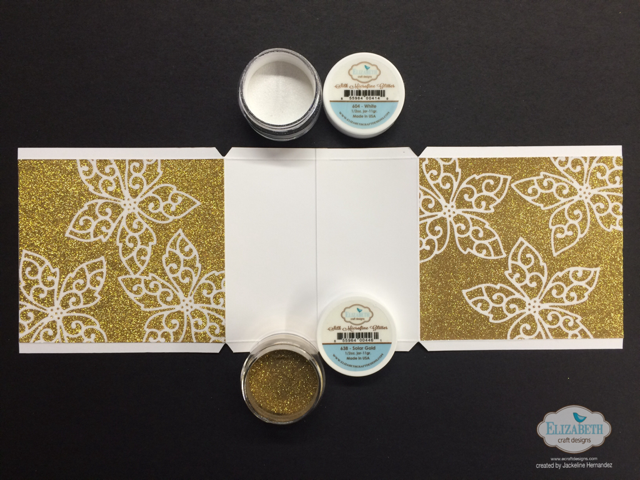
 Remove the backing paper and apply gold silk Microfine glitter, brush the excess and polish it.
- Remove the poinsettias and apply the white silk Microfine glitter, brush the excess and polish it.
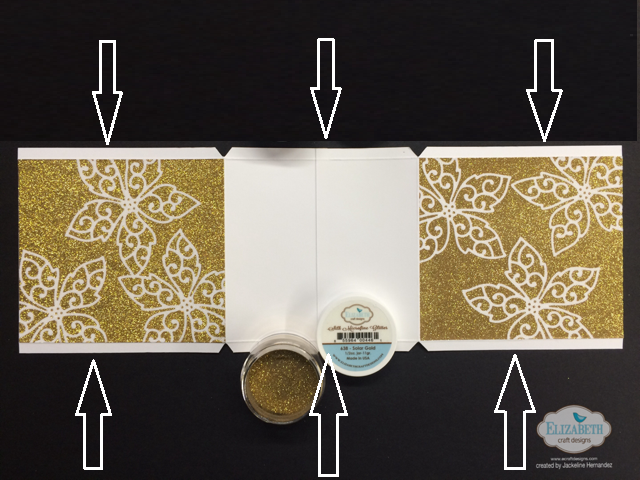
- With the assistance of the Fine Pointed Scissors from Elizabeth Craft Designs make 4 “V” cuts on the score lines.(See Picture)
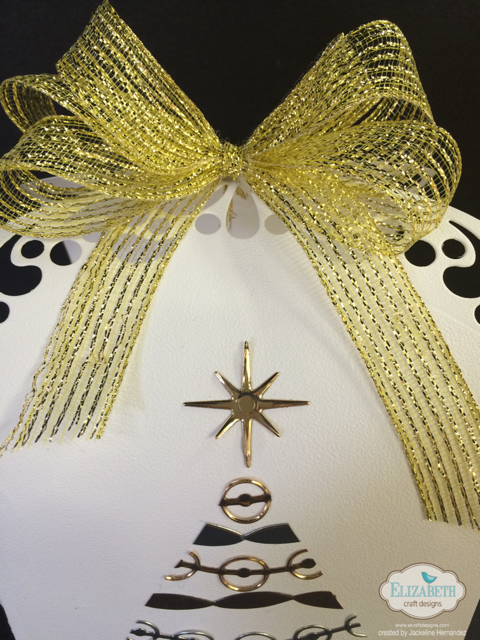
- Place double side adhesive tape on Gold and Silver Shimmer Sheetz. Die cut some pieces using the ribbon and Jewels die to built the tree.
- Die cut the star on gold shimmer Sheetz using the decorative piece from the Christmas Tree Pop Stand.
- Cut a small rectangle piece in gold Shimmer Sheetz for the trunk of the tree.
- Built the tree in one of the tags using the ribbon pieces. Start placing the star , next place the bottom ribbon. (Draw two lines that can help you as the template to built the rest of the tree)

- When the decoration of the box is finished, it is time to assemble it.
- Add some double side adhesive in the flaps, and attach the tags to built the front and back of the box.
- To close the box, use some gold ribbon and create a bow on the top of the box.


I hope you enjoyed this tutorial
Happy Crafting!!!
Jackeline.
SUPPLIES LIST:
Elizabeth Craft Designs
1037 – Christmas Trees Pop Stand
PSF102 – Soft Finish Cardstock 8.5″ X 11″ 270gr
SS0212 -Gold Metallic – 3 Pack
SS0211- Silver Metallic – 3 Pack
604 – White – Silk Microfine Glitter
638 – Solar Gold – Silk Microfine Glitter
502 – Clear Double Sided Adhesive Sheet – 8.5″ x 11″
505 – Clear Double Sided Adhesive Tape – 3mm
801 – Fine Pointed Tweezers by Elizabeth Craft Designs
802 – Fine Pointed Scissors by Elizabeth Craft Designs
OTHERS:
Gold Ribbon


